Reviewed · PHOTOGRAPHY SESSIONS
Explore Unique Tokyo Streets / Learn with a Pro Photographer
Tokyo after dark is the real classroom here. With professional photographer Deniz Demir, you walk through Yurakucho and Shinbashi, two central districts where station life, office culture, and narrow streets give you far more to photograph than a standard sightseeing stop.
In This Article
- Key points about this Tokyo photo walk
- What makes the Yurakucho and Shinbashi route worthwhile
- Learning to see Tokyo instead of just recording it
- The evening setting and salaryman culture
- How the small group changes the lesson
- Gear advice, from settings to prisms
- A closer look at the two-hour format
- Is $128.09 a fair price?
- Who should book this photo tour?
- My booking advice
- FAQ
- Where does the photography tour start?
- Where does the activity end?
- How long does the tour last?
- How many people can join?
- Can the guide bring a tripod?
- Can I cancel for a full refund?
I like the six-person maximum, which gives Deniz room to look at your camera and offer useful advice instead of giving a broad lecture. I also like the practical mix of basic settings and creative tools such as LED lights, prisms, lenses, and a tripod if you want one brought along.
The main consideration is price: at $128.09 per person for about two hours, this is not a cheap walking tour. It makes the most sense if you want hands-on instruction and plan to use what you learn beyond this single evening.
Key points about this Tokyo photo walk
- Yurakucho and Shinbashi after dark: Photograph central Tokyo streets rather than only visiting famous viewpoints.
- A maximum of six people: The small group allows for personal help with settings, lenses, framing, and composition.
- Professional guide Deniz Demir: Learn from a working photographer who has photographed Tokyo for years.
- Useful camera lessons: Topics range from exposure and equipment to street-shooting ideas and creative framing.
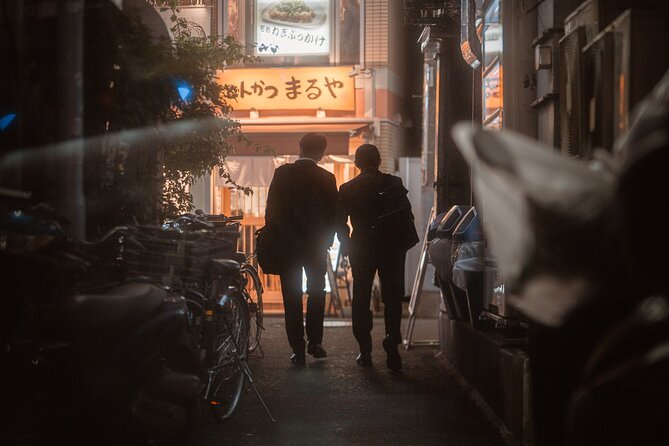
- Salaryman culture on weekday evenings: The timing can bring you close to a recognizable part of Japanese city life.
- Two-hour format with flexible evening choices: A compact option for fitting photography into a busy Tokyo stay.
What makes the Yurakucho and Shinbashi route worthwhile
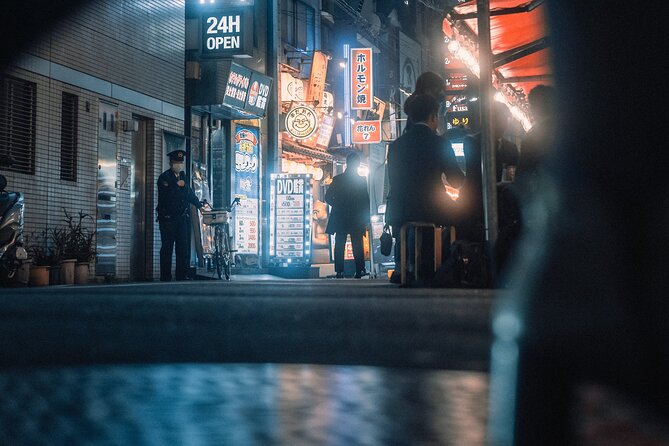
This is not a tour built around Tokyo’s biggest monuments. Its subject is the city itself: streets, people, light, movement, and the small details that are easy to miss when you are simply walking from one attraction to the next.
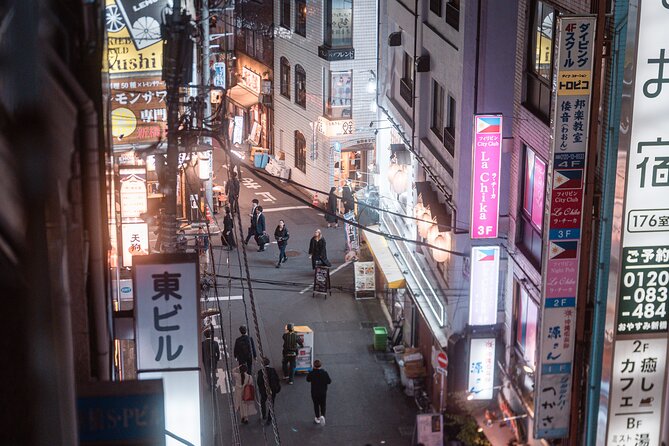
Yurakucho and Shinbashi are useful places for this kind of outing because they show a less polished side of central Tokyo. You are still in the heart of the city, but the photographic interest comes from street scenes and everyday activity rather than a single famous building.
The tour begins at Shimbashi Station, 2 Chome-17 Shinbashi, Minato City. The spelling varies between Shimbashi and Shinbashi, so check the exact meeting details before setting out. The activity ends back at the meeting point, which keeps your return simple after the evening walk.
The route is described as covering both Yurakucho and Shinbashi, but the supplied details do not give a fixed list of stops. That is worth understanding. You are paying for guided observation and instruction, not a rigid checklist of landmarks. The exact photo locations may depend on the evening, the group, and what catches the guide’s eye.
Other photography tours in Tokyo



Learning to see Tokyo instead of just recording it
Deniz’s approach goes beyond telling you which camera button to press. The instruction includes basic topics such as camera settings, lenses, and gear, but also moves into what to look for, how to frame a scene, and how to use the surroundings to make a stronger image.
That difference matters. Many visitors can get a sharp photo of a Tokyo street. Fewer know how to decide where to stand, what to leave out, or how to use light and reflections to give the image a clear purpose.
You can expect the session to be useful at several skill levels. If you are still learning your camera, you can ask about settings and equipment. If you already shoot regularly, the discussion of street-photography ideas, framing, and creative techniques may give you new ways to approach familiar subjects.
One participant found the instruction helpful for identifying gaps in their understanding of their own equipment, then had a chance to test the advice while walking. That is an important strength of the format. You are not only listening. You are putting the lesson into practice on the same streets.
The evening setting and salaryman culture
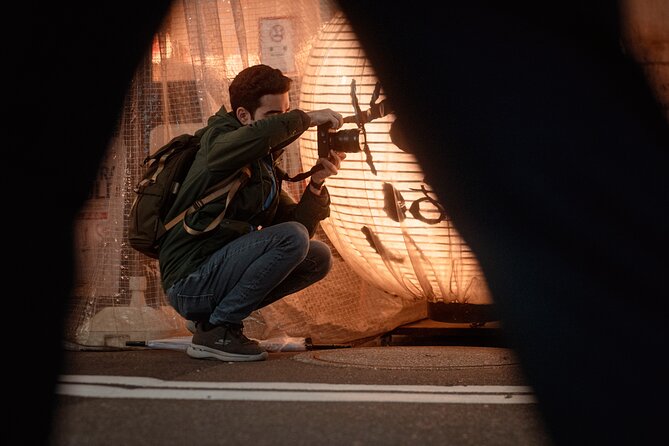
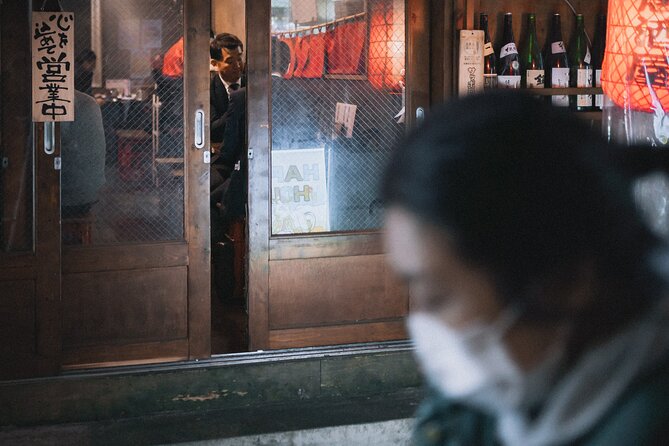
The timing gives this activity a clear character. Evening tours on weekdays can bring you close to salaryman culture, the office-worker routine that shapes much of Tokyo’s weekday rhythm.
The point is not to treat people as props. Good street photography depends on awareness and respect, especially in a crowded city. Deniz’s discussion of street-shooting philosophies can help you think about when to photograph, how to compose around people, and how to make images that feel observed rather than intrusive.
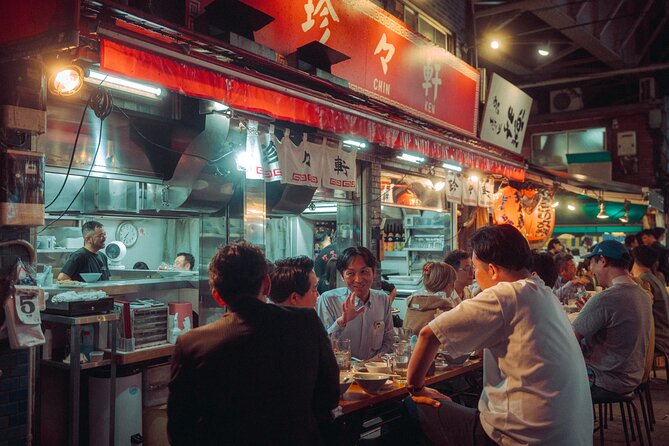
The streets around Yurakucho and Shinbashi also offer a useful contrast to Tokyo’s postcard views. Instead of waiting for the perfect skyline, you can work with whatever the city gives you: artificial light, passing figures, station traffic, reflections, signs, and layers of activity.
Because the route takes place in the evening, you should be comfortable photographing in changing or lower light. That is part of the appeal, but it may also expose weaknesses in your technique. If you normally rely on automatic settings, this is a good chance to learn why your camera behaves differently at night.
How the small group changes the lesson
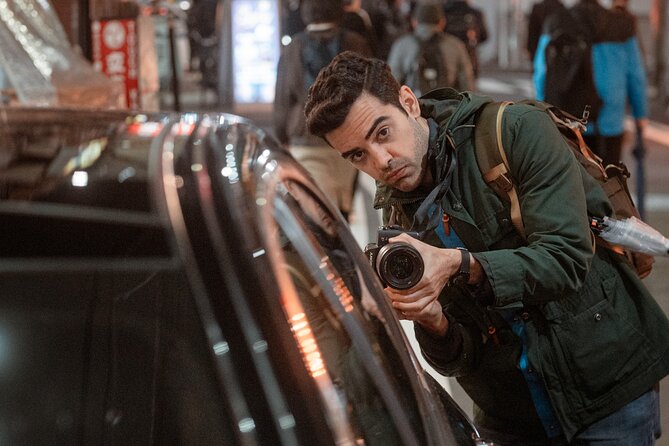
The group limit is six people, and this is one of the most important practical details. A small group gives Deniz a better chance to inspect your camera, answer individual questions, and suggest a different position or setting when your image is not working.
It also keeps the walk more manageable. Photography stops can become awkward when a large group spreads across a narrow street or waits for one person to finish adjusting a tripod. With six or fewer participants, the pace should be easier to follow, although you still need to share the guide’s attention.
The tour is not advertised as a private lesson, so you should not expect Deniz to spend the full two hours with only you. The group size is small, but other people may have different cameras and skill levels. That can be useful because you may learn from questions that you had not thought to ask. It can also mean that some explanations are not tailored entirely to your needs.
If you are serious about improving, arrive ready to describe your camera and your goals. Tell Deniz if you want help with night exposure, composition, portraits, lenses, or creative effects. A focused question is more likely to produce advice you can use right away.
Gear advice, from settings to prisms
The instruction covers ordinary camera basics as well as less standard tools. You may discuss lenses, LED lights, prisms, and other equipment that can change the look of a street photograph.
The guide can bring a tripod if you would like one. You should request that in advance rather than assume it will be available automatically. A tripod can be useful for certain low-light techniques, but it also adds weight and can slow you down on a city walk. If you prefer to travel light, you can still benefit from the advice on handheld shooting and camera settings.
This is a good place to set realistic expectations. The tour will not magically turn a difficult camera into a simple one, and two hours is not enough to master every feature. The value comes from learning which controls matter for the kind of pictures you want, then practicing with direct guidance.
The mention of LED lights and prisms suggests that Deniz is open to creative experiments rather than limiting the lesson to standard travel snapshots. Still, the available information does not promise that every tool will be used during every tour. Think of these as subjects you can discuss and techniques you might explore.
A closer look at the two-hour format
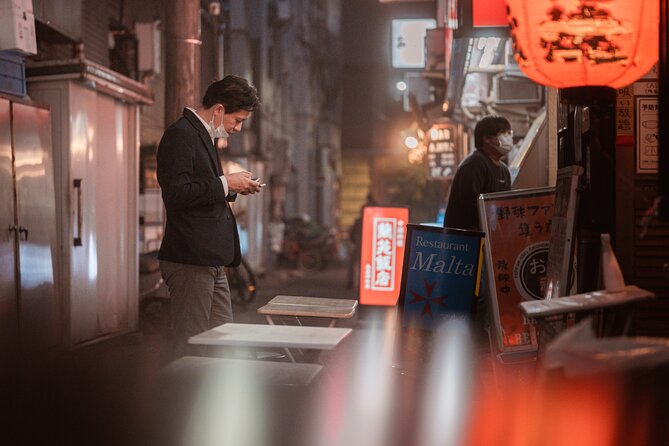
Two hours is long enough to walk, stop, shoot, and discuss your images without taking over your entire evening. That makes the activity easy to combine with a larger Tokyo itinerary.
The short duration also keeps the physical demand reasonable. You should have a moderate level of fitness, since the experience involves walking through city streets and stopping to take photographs. The details do not specify the total distance or the number of stairs, so wear comfortable shoes and avoid carrying more camera gear than you can manage.
Several evening tour options are available, giving you some flexibility with scheduling. The exact choices are not listed, so check the available start times when booking. Weekday timing matters if you specifically want to photograph salaryman culture. A different evening slot may offer a different mood and pace.
Since the activity returns to the starting point at Shimbashi Station, you do not need to solve a new transportation problem at the end. It is a practical feature if you are still learning Tokyo’s rail system or want to continue your evening from a familiar station.
Is $128.09 a fair price?
At $128.09 per person, this costs much more than a basic Tokyo walking tour. You are not mainly paying for transportation, entry tickets, or a long list of sights. You are paying for access to a professional photographer, a small group, and direct feedback on your own pictures.
That can be good value if you already own a camera and want to improve quickly. A short lesson that helps you understand your equipment may save you hours of trial and error later. The participant who discovered gaps in their camera knowledge is a good example of the kind of benefit this tour can provide.
The value is weaker if you only want a casual evening stroll or if you plan to use your phone without interest in photography technique. You may still enjoy the streets, but the central reason to book is instruction. The tour is best for someone who wants to leave with better habits, not just a few extra images.
A group discount is available, which may help if you are traveling with friends who share an interest in photography. The small group limit remains important, so confirm how the discount applies before booking.
Who should book this photo tour?
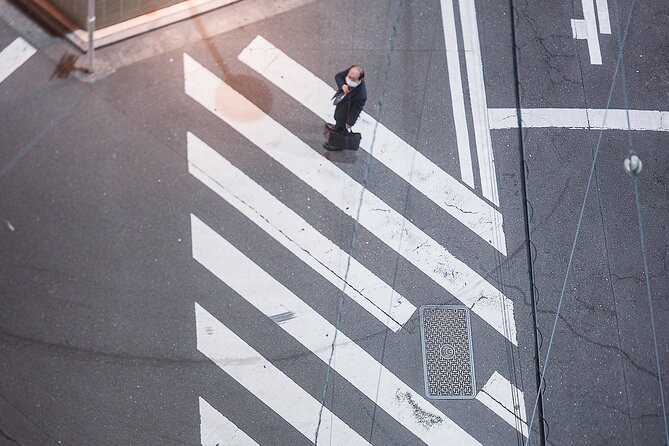
I would put this near the top of your list if you fall into one of these groups:
- You bought a camera for travel and still feel unsure about its controls.
- You know the basics but want help with night photography and composition.
- You enjoy street photography and want fresh ideas for working in a busy city.
- You prefer everyday Tokyo scenes to a standard landmark checklist.
- You want a compact evening activity led by a professional photographer.
- You are traveling with a small group and can benefit from the group discount.
It may not suit you if you dislike stopping often, discussing camera settings, or photographing in the evening. It is also less useful if you are looking only for a relaxed sightseeing walk with no technical instruction.
Service animals are allowed, and the activity is near public transportation. Confirmation is provided when you book. You can cancel for a full refund up to 24 hours before the start time, but cancellations or changes made inside that window are not accepted.
My booking advice
I would book this if photography is one of your main reasons for visiting Tokyo, especially if you want more than a quick snapshot of the city. Deniz Demir’s combination of technical lessons, street-photography ideas, and local knowledge gives the walk a clear purpose.
The strongest reasons to go are the small group, the chance to test advice immediately, and the focus on places you might pass through without really seeing. The main weakness is the high cost for a two-hour activity and the lack of a fully specified stop-by-stop route.
Book it early if the timing matters to you. The activity is booked, on average, 16 days ahead. Bring the camera you actually plan to use, prepare a few questions, and request a tripod in advance if you want one. If you do that, the evening has a good chance of improving not only your Tokyo photos, but also the way you notice cities after dark.
FAQ
Where does the photography tour start?
It starts at Shimbashi Station at 2 Chome-17 Shinbashi, Minato City, Tokyo 105-0004, Japan.
Where does the activity end?
The activity ends back at the meeting point.
How long does the tour last?
The tour lasts approximately two hours.
How many people can join?
The maximum group size is six travelers.
Can the guide bring a tripod?
Yes. The photographer guide can bring a tripod if you request one.
Can I cancel for a full refund?
Yes. You must cancel at least 24 hours before the experience start time to receive a full refund. Changes or cancellations made less than 24 hours before the start time are not accepted.
More Photography Tours in Tokyo
More tours in Tokyo we've reviewed

Photography Sessions, compared.
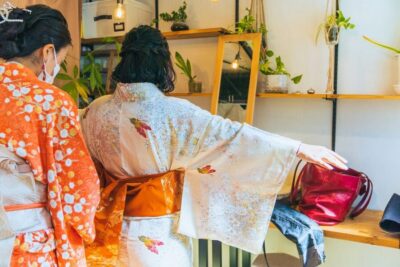 ★ 4.9Tokyo: Kimono Dressing, Walking, and Photography SessionFrom $67
 ★ 5.0Best Go Kart Experience in Shibuya Crossing with Iconic PhotosFrom $106
 ★ 4.8Tokyo Go-Karting Experience: Shibuya Crossing with PhotosFrom $901 hour
 ★ 5.0Tokyo Cyberpunk Street Photo TourFrom $184
 ★ 5.0Tokyo by Night Photography Tour (Private Option Available)From $105
 ★ 4.8Tokyo: Exclusive Access to Sumo Morning Practice with PhotosFrom $962 hours